How could I forget to show closer pics of the decorated rooms?


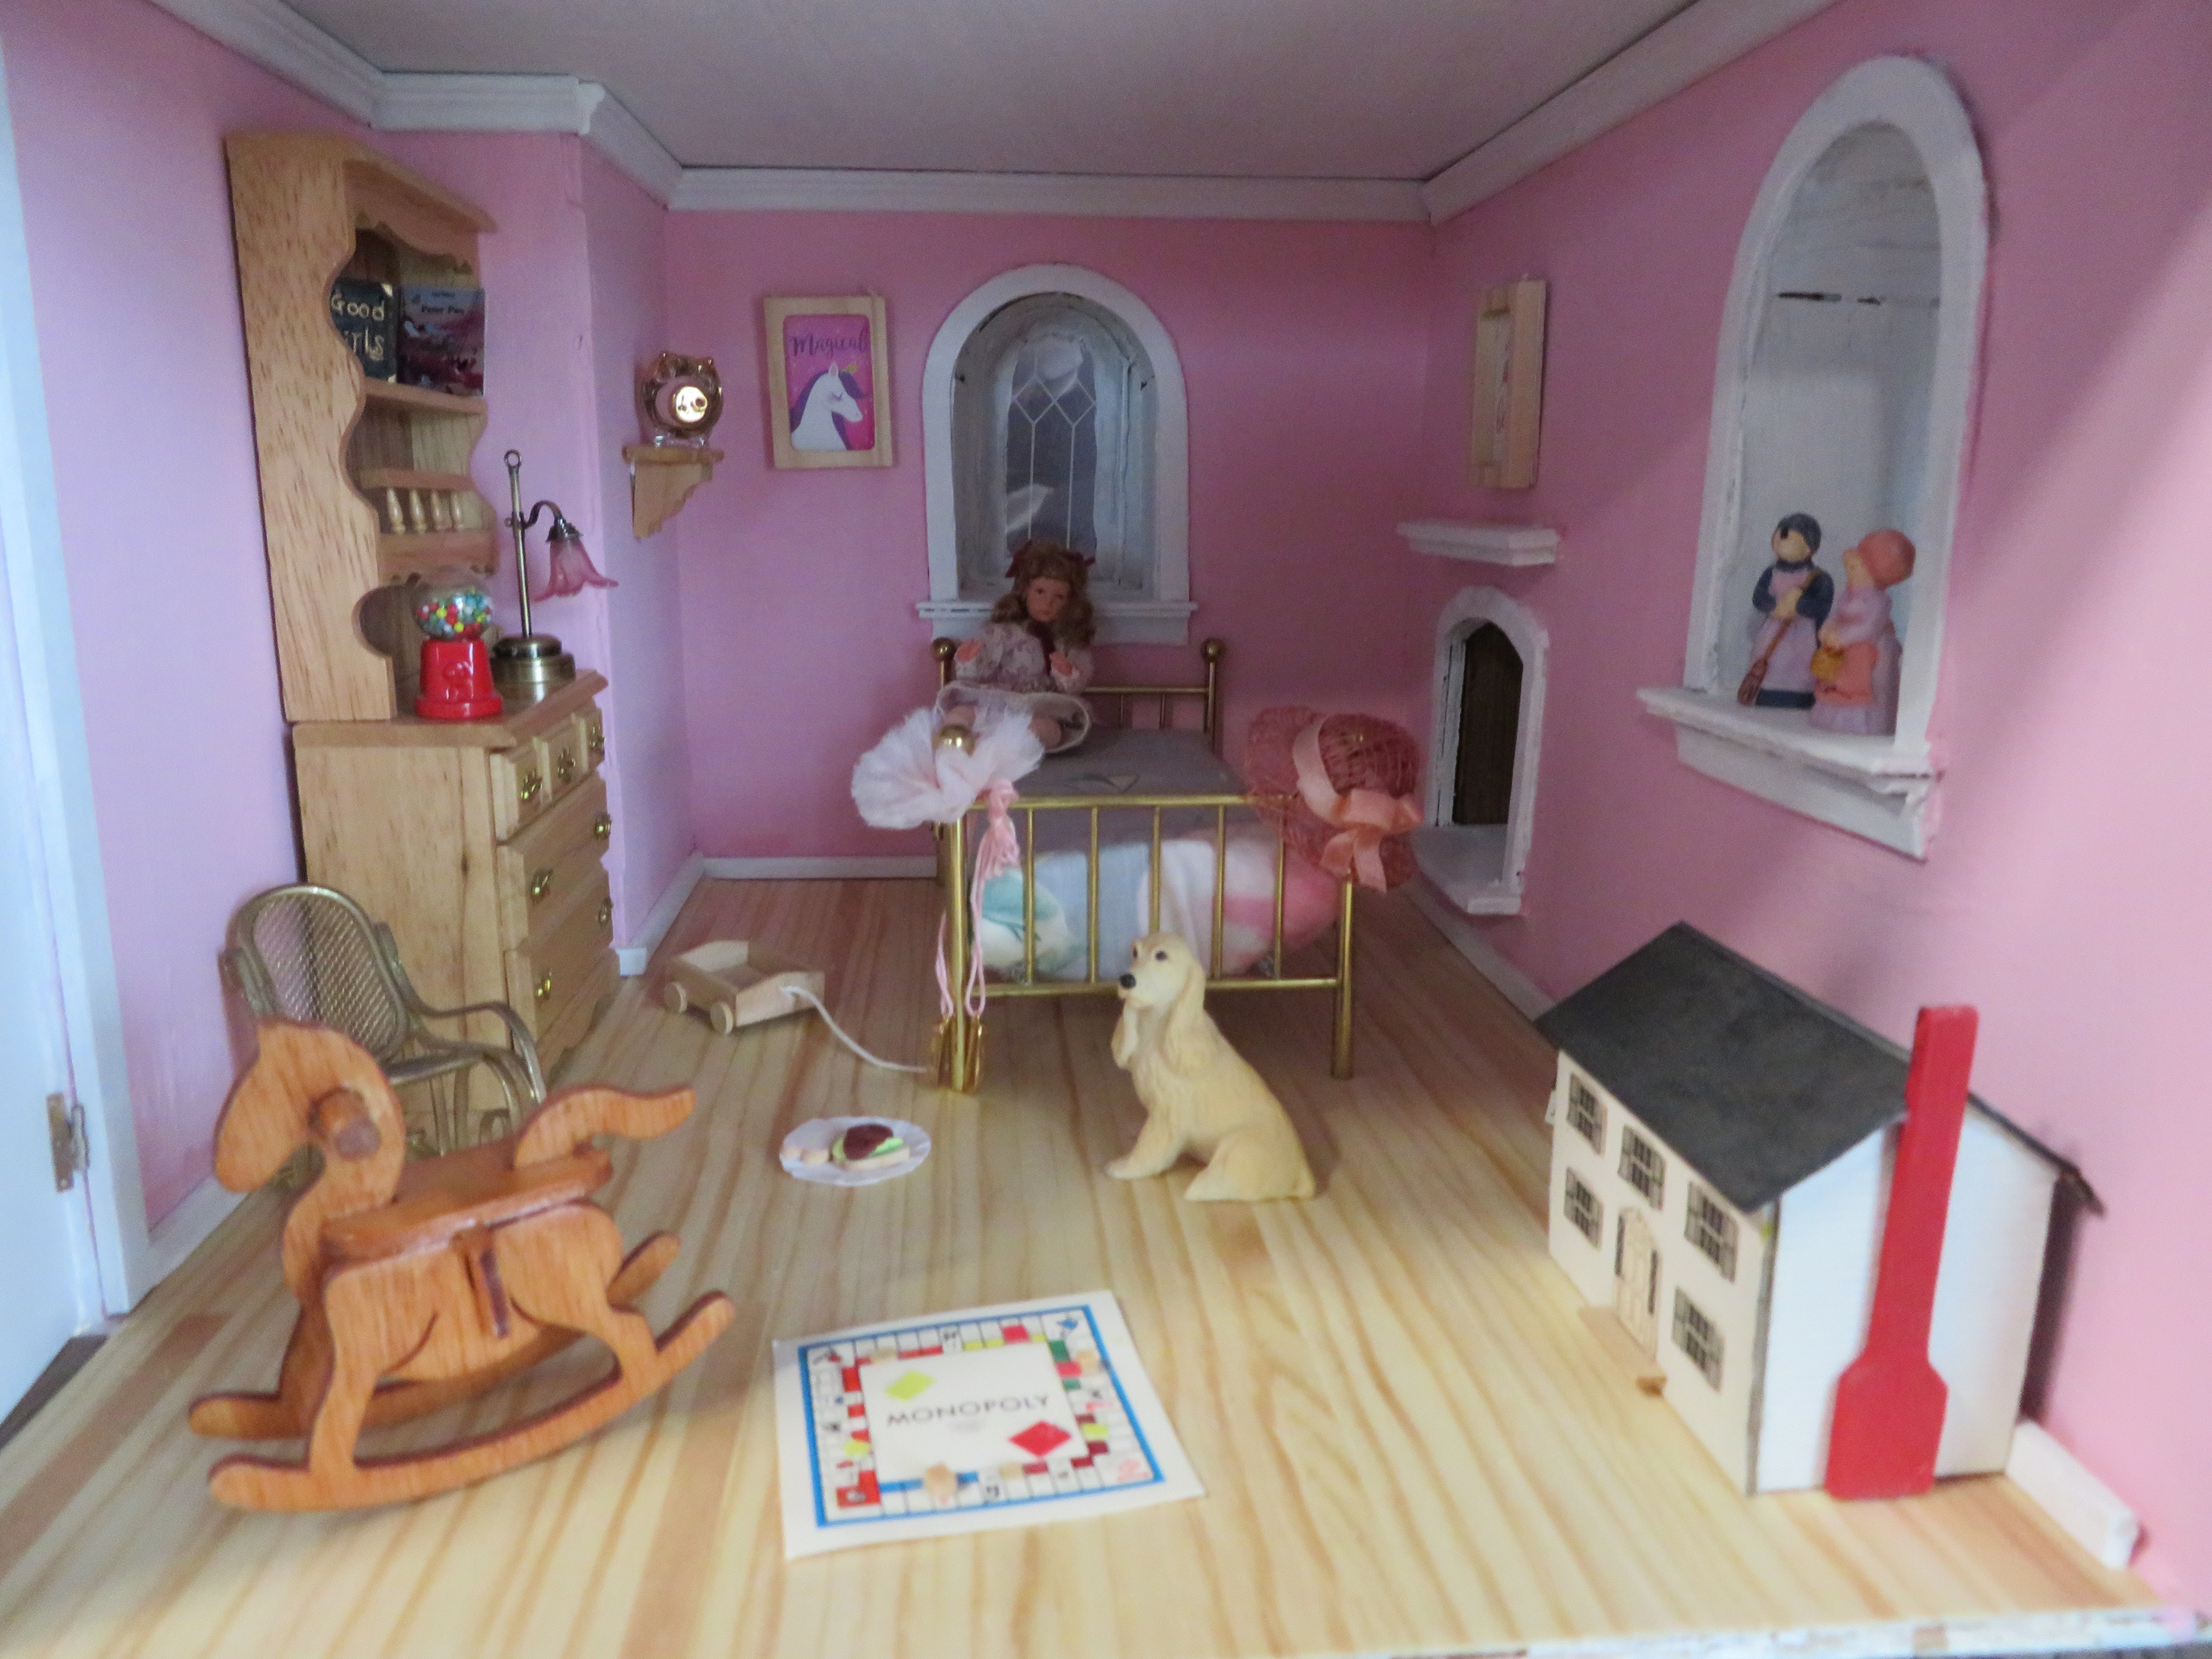


There will definitely be more updates, especially around the holidays, & when new things are added!

How could I forget to show closer pics of the decorated rooms?
There will definitely be more updates, especially around the holidays, & when new things are added!
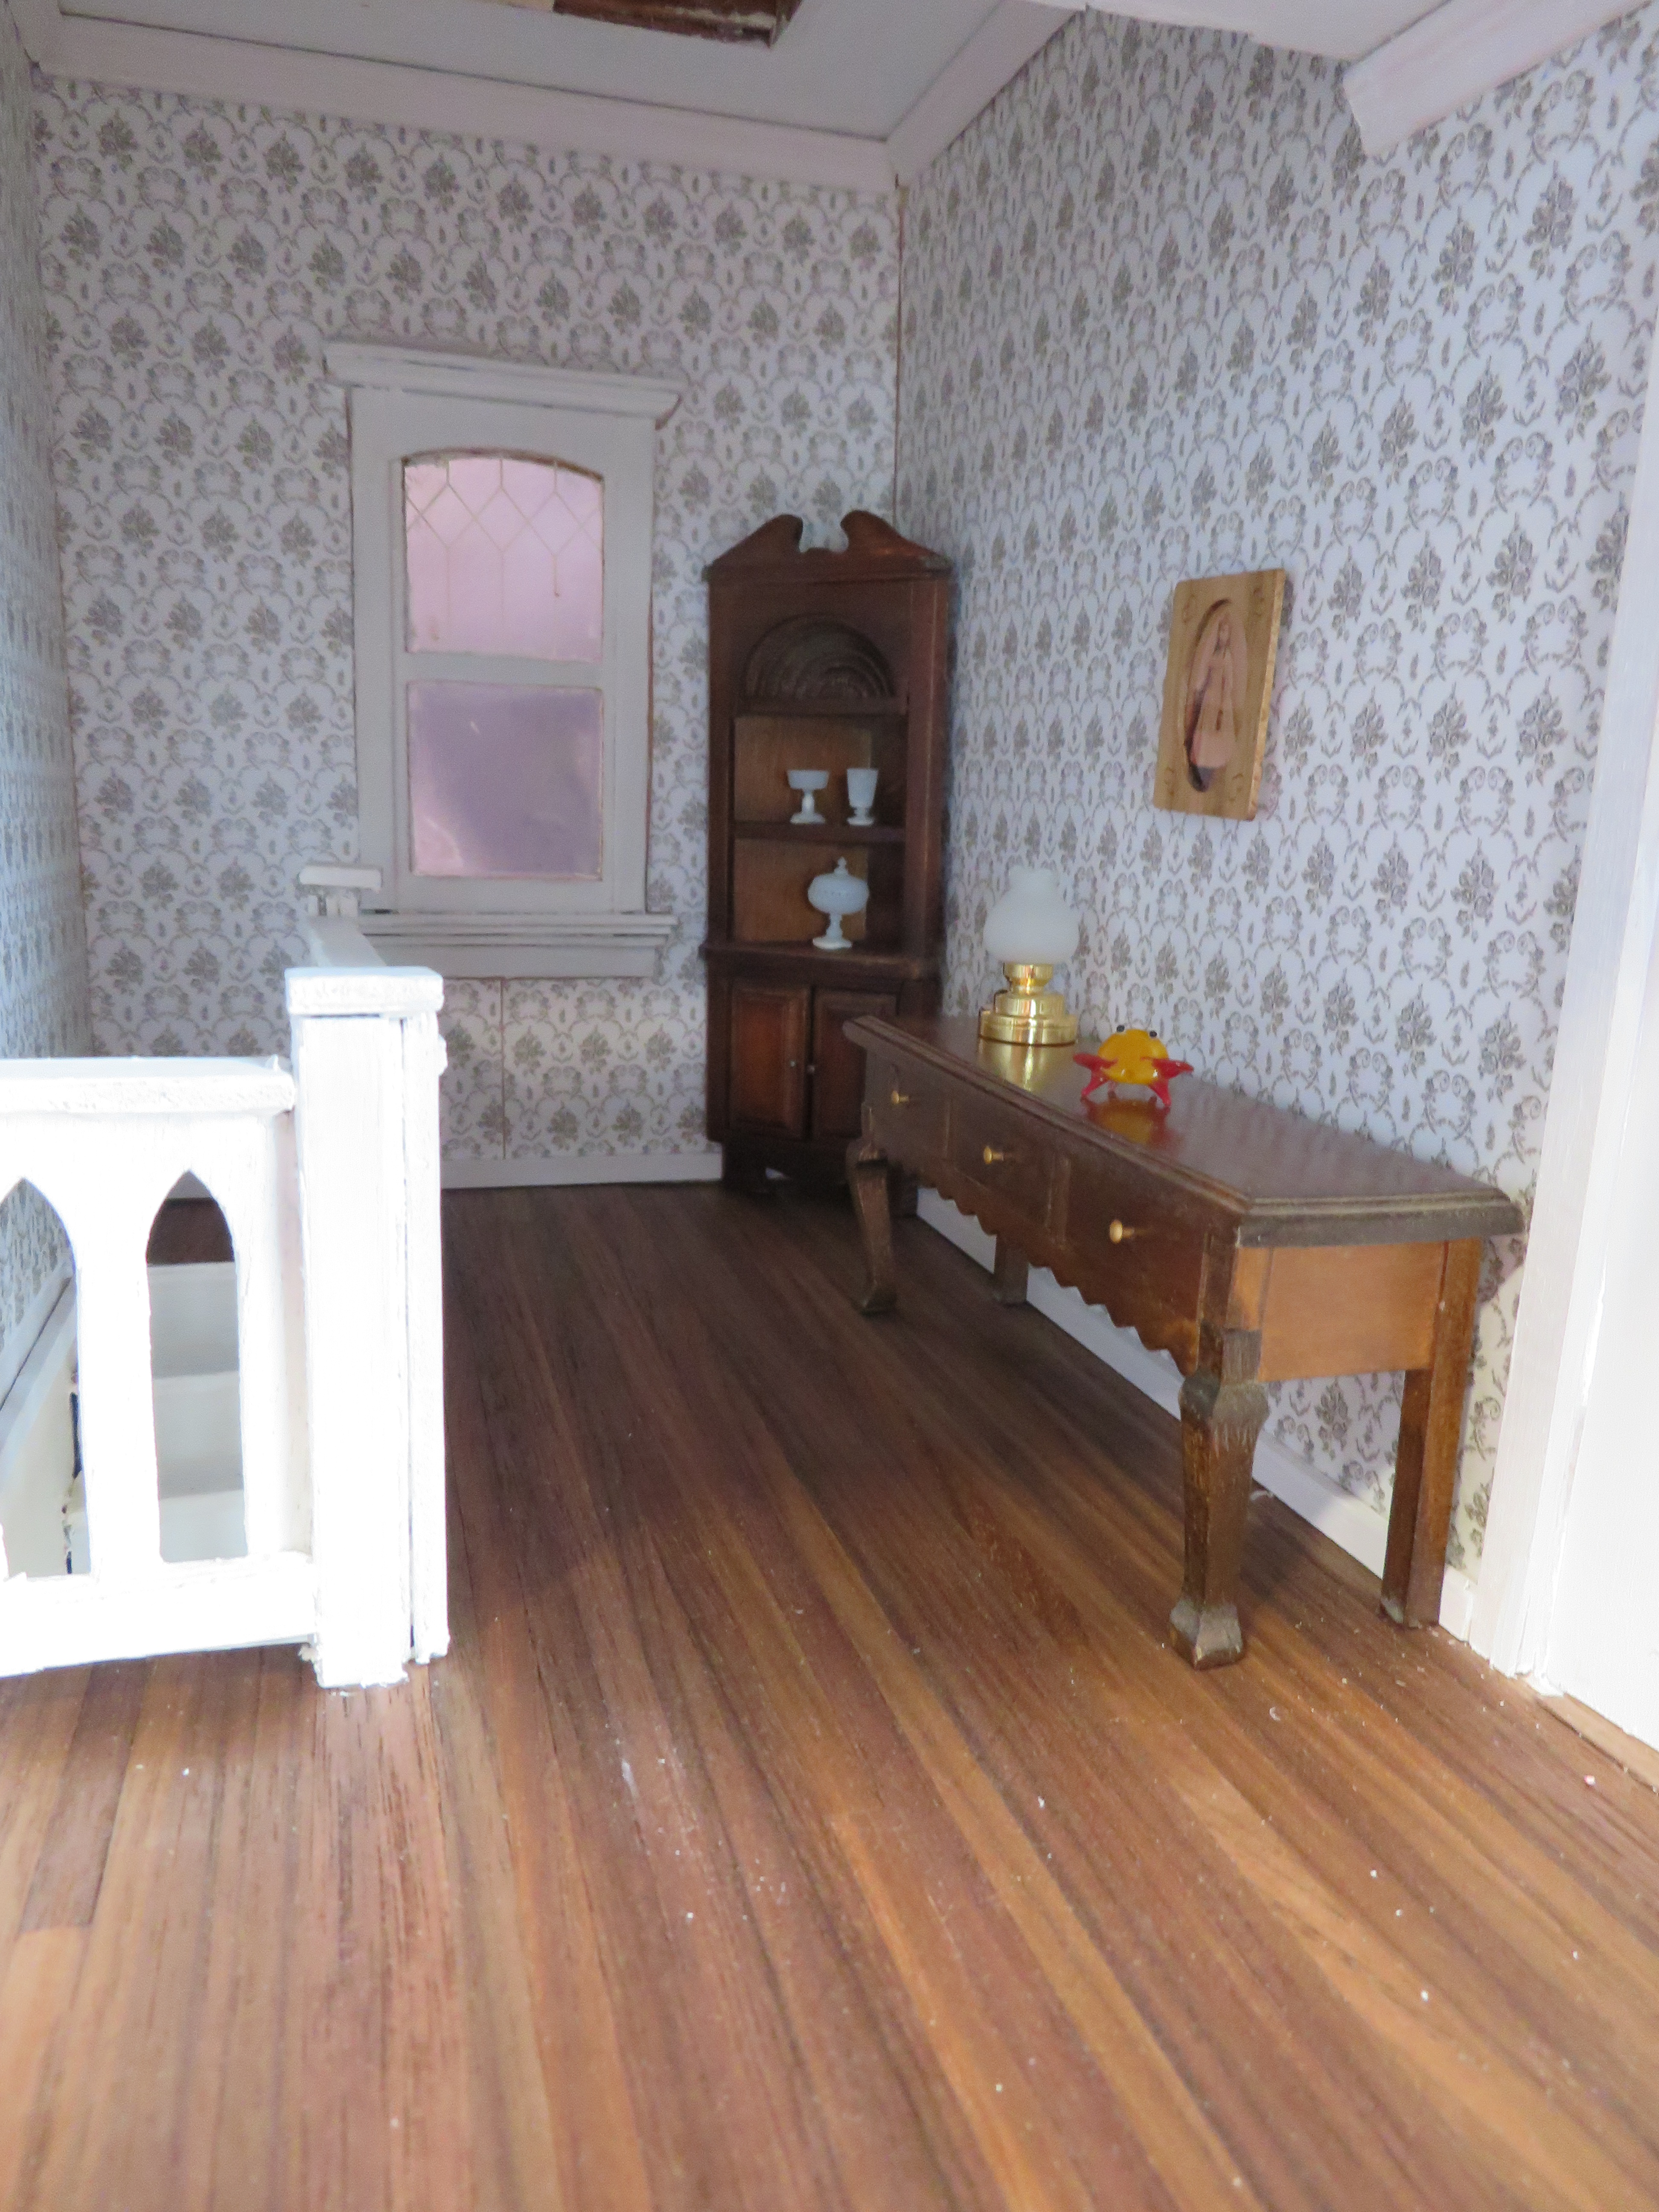
The final room to showcase is the main bedroom, so here’s a before & after of that before the BIG stuff.

Now, for the exciting news: the renovation is DONE! All the scraping, priming, painting, measuring, & cutting is done. Now, I get to sit back, relax a little, and enjoy the fruits of my labor. To celebrate, how about some befores & afters of both the newly finished interior AND exterior?


So, what’s next? Clearly, this isn’t the end. I still have a lot of decorating to do. We’re also going to mount the house on a board/lazy Susan for easy access to all sides. There will definitely be more blog posts, too. I still have a few surprises up my sleeve! I can say that there will be a post of each room in its “final” (as of now) form.
Thanks to everyone who has supported me through this crazy renovation. For someone who’s never really handled something so involved, I’m actually proud of myself and the design choices I made.
Have a question? Want to see a pic of something up close? Feel free to ask! I’m very proud to talk about my creation.
A little more finished, with furniture! And, a bonus shot.


Well, there it is for now. Next time I post, it’ll be the rest of the rooms, & the house will be *completed!
*well, except for decorative touches & clean up.
I’ve been working pretty hard on my Beacon Hill, so I figured it was time to show off a little of what I’ve done so far. There’s still a long way to go, but the strides I’ve made make me pretty proud.
Without further ado…the befores and afters!


The “wallpaper” on the sides in the BEFORE shot was…wait for it…copy paper. Yikes!


It looks so much brighter! And I didn’t totally botch the wallpaper.


That’s all for now. More to come! The next step once the floors are in will be wainscoting, trim, doors… Still a long way to go before the *official* move in.
When I was 12, I went shopping with my parents. We passed an unfinished furniture store, and a gorgeous dollhouse caught my eye. I decided I HAD to have it. So, I saved every bit of money I could, then bought it for myself.
It sat in a box until I turned 18. My boyfriend at the time helped me put it together. Not the greatest, but I loved it. It was mine. I ended up marrying someone else, and my dollhouse sat in a place of honor for several years and two moves.
My husband’s work brought us to a new state, and there was no place for my dollhouse. It sat in a crate in the garage for eight years, until we converted a small, extra garage/storage area into an office/craft room. My Beacon Hill finally was HOME.
It doesn’t seem like it in the picture above, but it looked rough from the years of neglect (not to mention a bad paint job). I cleaned it up and sanded it to give myself a smooth surface. Then, I primed everything but the porches, the base, the shingles, and the chimney.

It took a couple coats to get the blue covered. OH! I also took the sandpaper (yes, SANDPAPER) off the tops of the bay windows and primed those, too.
I wanted to stay close to the original color, but tone it down a little. I found a beautiful blue that fit perfectly. I even painted the shutters black. Now, it POPPED.

There were just two more things I wanted to do to make the house look the way I wanted: wood for the porch, and copper for the windows.


And here it is! Ugh. It’s so pretty. I’m THRILLED by the progress. I have to add copper to the rounded windows, and touch up paint in a couple of places (and remove paint from the windows), but the exterior is done! Next up: the ::gulp:: interior. That’s going to be a little harder. Carpet and wallpaper to remove. Rewiring (probably). Plus all the sanding, painting, and redecorating.
Thanks for reading!
Author Of Adult Fiction
The writing, random thoughts, and weirdness of author Mary Lynne Gibbs
The Art and Craft of Blogging
The latest news on WordPress.com and the WordPress community.
